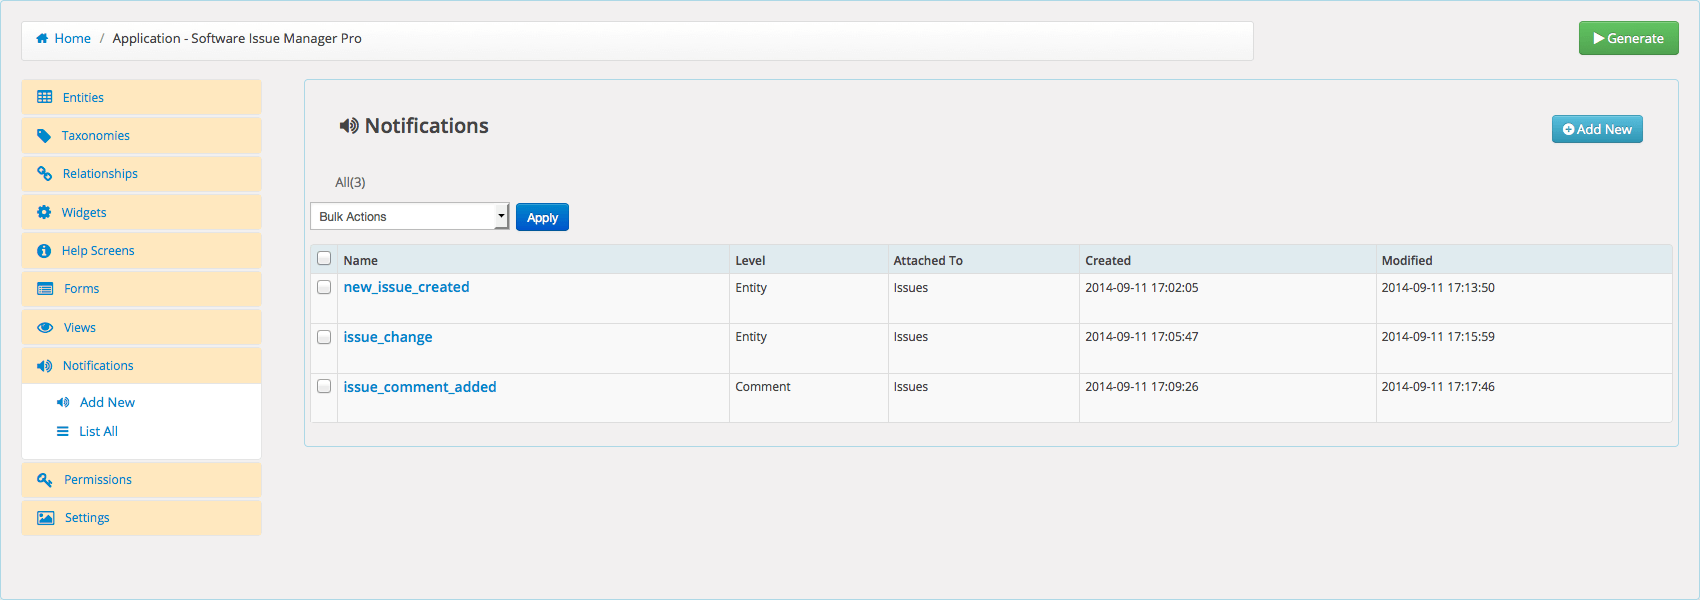
Notifications are app generated alerts based on additions, deletions, or changes in content. Notifications can be created at entity, attribute, taxonomy, relationship, and comment levels.
- Name
- Unique identifier for the notification. Can not contain capital letters, dashes or spaces. Between 3 and 30 characters.
- Label
- Label of your notification. Displayed at the app settings notifications tab after app generation.
- Description
- Label of your notification. Displayed at the app settings notifications tab after app generation.
- Level
- Sets the level of notifications to be configured. Entity level allows sending notifications when there is a backend(admin) addition, frontend(forms) addition, deletion of a record, or any change in entity objects such as taxonomies, relationships etc. Attribute and taxonomy level notifications are sent when there is any value change or when the value changed to a specific value specified in the change value field. Relationship level notifications are sent when there is an addition from the backend or when a connection get deleted for a specific relationship specified at the Attached To field. Comment level notifications are sent when when the comment records, specified at the Attached to field, gets a new addition, changed, deleted or put in trash.
- Events
- Displays the events available at the different notification levels.
- Attached to
- Sets the primary object for your notification. The selected object will be used to trigger notifications.
- Attached to Entity
- Sets the primary entity for your notification. The selected entity will be used to trigger notifications.
- Change Value
- Sets the primary entity for your notification. The selected entity will be used to trigger notifications.
- Enable User Notification
- When checked, the user will be notified via email.
- Enable User Notification
- When checked, users will be get notifications. You can enable or disable user notifications from app settings page notifications tab after your app generated
- Email Send To
- Select the email attribute you want to send the receipt to. The user email address must be available in the attribute selected otherwise no emails are sent.
- Email Reply To
- Sets the email address used for reply messages. Multiple email addresses must be separated by coma. Max:255 Char.
- Email CC
- Sets the email address that notification will be CCed. Multiple email addresses must be separated by coma. Max:255 Char.
- Email BCC
- Sets the email address that notification will be BCCed. Multiple email addresses must be separated by coma. Max:255 Char.
- Email Subject
- Sets the subject field of emails. Max:255 Char.
- Email Message
- Notification message to be sent. Use Show Tags to customize your message with tags available to your entity.
- Enable Admin Notification
- When checked, admin user(s) will be get notifications. You can enable or disable user notifications from app settings page notifications tab after your app generated
To create a notification
- After you created your app, click on the Notifications tab.
- Click on the Add New link, you will see the new notification screen on the right.
- Fill in a name; must be unique among all notifications.
- Fill in a label; displayed at the app settings notifications tab after app generation
- Set the level of your notification.
- Attach the level to an entity or any object of the level set.
- Set the event which will trigger your notification.
- Enable user notifications and set the message fields.
- Enable admin user notifications and set the message fields.
- Click save when finished.