Quick start to faster and efficient WordPress development. Use your FreeDev or ProDev account.
After you installed and activated Wp App Studio, the next step is to create your first App.
First, create your first app, add an entity, configure its attributes to start. At least one unique attribute is required. Fill in your app settings and then send it for generation.
The dark blue color-coded steps are required. The other steps are optional.
1- Create an App
A WPAS app is a collection of entities, taxonomies, relationships among other entities, and other functionality that enhance the user experience such as form or views. To create an app click the "Add New Application" link on the left menu tab. On the app editor, enter your app name and click save. Now your app is ready to be configured.
2- Create one or more entities
An entity is a person, object, place, event, or concept for which data is collected. Some entities come already built-in such as posts or pages. For custom entities, you need to define a name, labels, whether it is hierarchical or not, and an optional brief entity description. Advanced users can also specify other options as outlined under the advanced options section although only the basic section is required.
3- Create one or more entity attributes
Each entity must have at least one attribute. An attribute is a property or descriptor of an entity, for example, Customer Name is an attribute of the entity Customer. Optionally, you can also create an admin entity layout, categorizing entity attributes in tabs or accordions to better organize data entry from the backend.
4- Create one or more taxonomies
A taxonomy is a way to group things together. It might contain only one attribute of interest to users. You can define hierarchical or non-hierarchical taxonomies.
Hierarchical taxonomies are a collection of terms, each term being optionally related to a parent term such as categories. Non-hierarchical terms do not have parent term association. Tags are an example of non-hierarchical taxonomy.
5- Create one or more relationships
Relationships are connections between entities. You can create one-to-many(1-M), many-to-many(M-M) relationships. Many-to-many relationships may have one to many attributes.
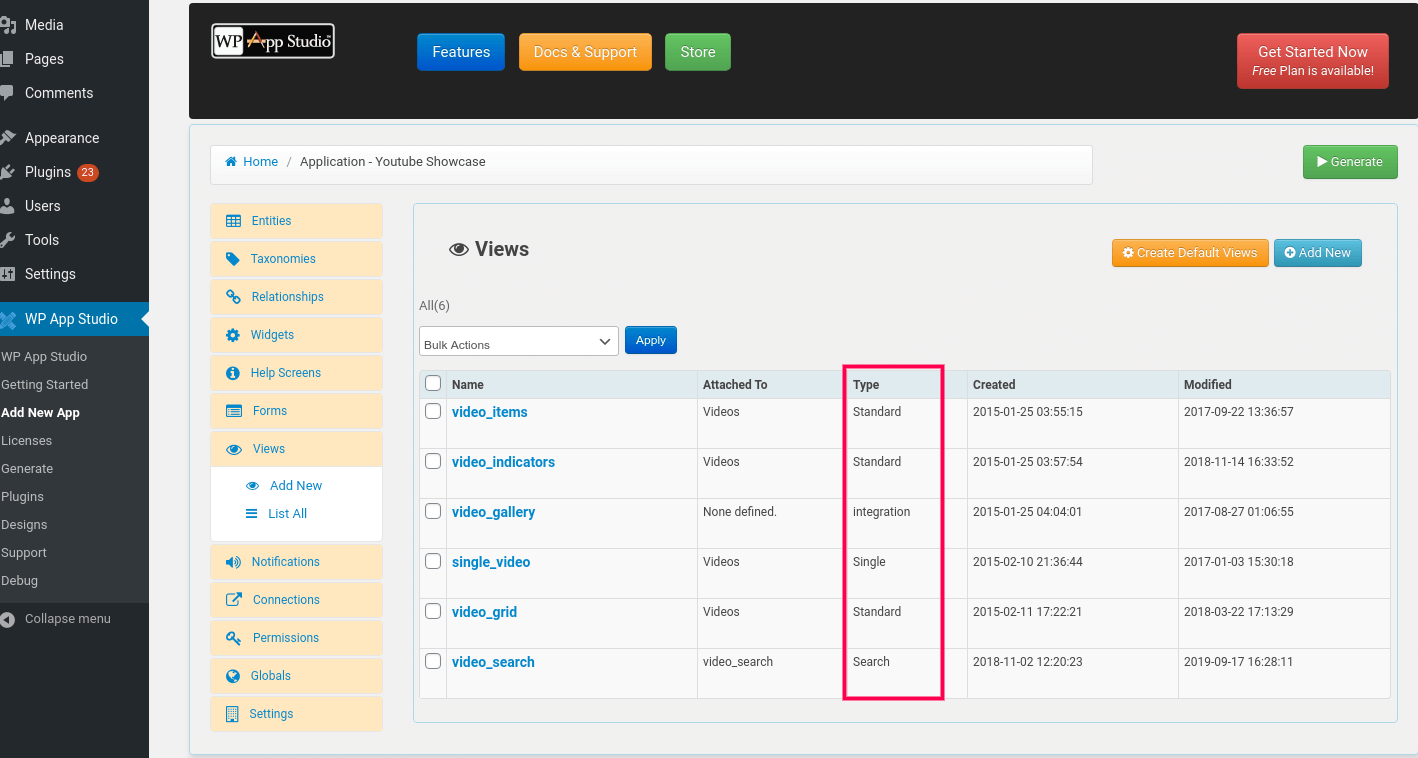
6- Create one or more views
Views define how content will be displayed in the frontend. Views can be used to design single, archive, or taxonomy pages. Some types of views can be used to display content in a table form such as a data grid or static page such as integration views.
7- Create one more forms
Create forms if you'd like users to enter or search content from the front-end. If you don't create a layout for your form using form layout editor, the default layout will be used.
8- Create one or more help screens
A contextual help section provides additional information to the user on how to navigate the various settings in the admin panel. Each help section is displayed as tabs and attached to an entity or taxonomy.
9- Set or update app permissions
The permissions tab is used to configure and control what people can see, create, delete, and edit. A set of permissions is called a role. A role must have at least one capability assigned. You can modify existing WordPress roles and/or create custom roles. By assigning capabilities to these roles, you can control access to your app content.
10- Modify app settings
Settings module configures your app readme.txt file sets many app-related features such as login screen logo, system mail sender, dashboard widget visibility etc..
11- Generate, install and activate your app
After you completed your app design, click the Generate button. Your app design will be sent to WPAS servers for code generation. When the code generation is completed, you will get a download link. Click on the download link and save the plugin code to your computer. Click on the WordPress Plugins tab. You will see the plugin named as your application name. Upload, install and activate the plugin.
12- Create one or more notifications
Notifications are alerts that your app generates responding to changes, additions or deletions in your app content. If you identified some events that users need to be notified, you can configure a notification to send out an email when that event happens.