Enabling users to search through content to find what they want is a critical functionality for most apps. In this article, I am going to explain how to design a search form and its search results view, adding more functionality to "Request a quote" app. I will add some HTML code to display the search results in a table format as well.
Providing search functionality
WP App Studio offers three built-in options for providing search functionality;
- Search forms
- Autocomplete view type
- Data grid view type
Pro tip: You can provide a custom search functionality not offered as built-in by linking your favorite CDN library.
We are going to focus on the search form in this article since it has more common usage pattern than the others. You can use attributes, taxonomies and relationships as fields in your search forms. For example, in employee directory pro plugin, we allow users to search direct reports of an employee using a self-relationship as a search field. Departments, job titles, skills etc. fields are taxonomies. Taxonomies and relationships as well as dropdown attributes are displayed as multiselect dropdowns in the search forms.
As is the case for submit forms, you can set some fields as required. The required fields must be set to submit search requests. The search forms also can be themed. For example, you can use Twitter's Bootstrap, jQuery UI or simple HTML fields. WPAS creates components when frameworks used, matching the framework. We update components used in the platform regularly.
Let's define our need
I want to extend "Request a quote" app by providing search functionality to the bidders so that they can search the bidders by state and by quoted amount. To accomplish this the search form will have the following fields;
- State
- Quote
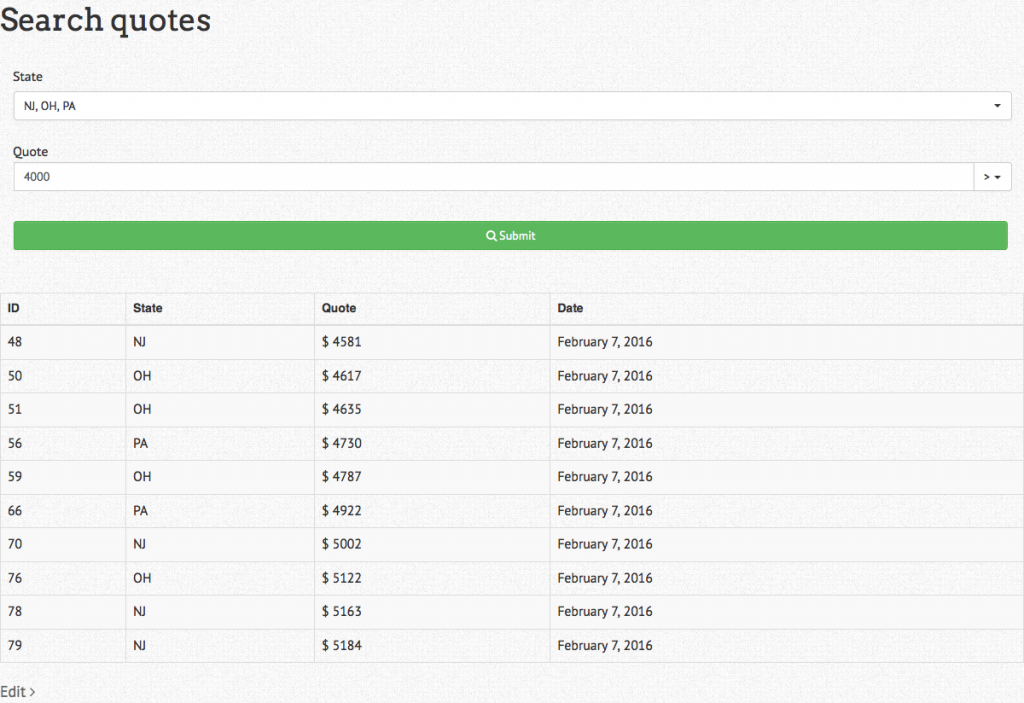
The results returned will have the following columns;
- ID
- State
- Quote
- Date
If the query does not return any quote, "No results found" message will be displayed.
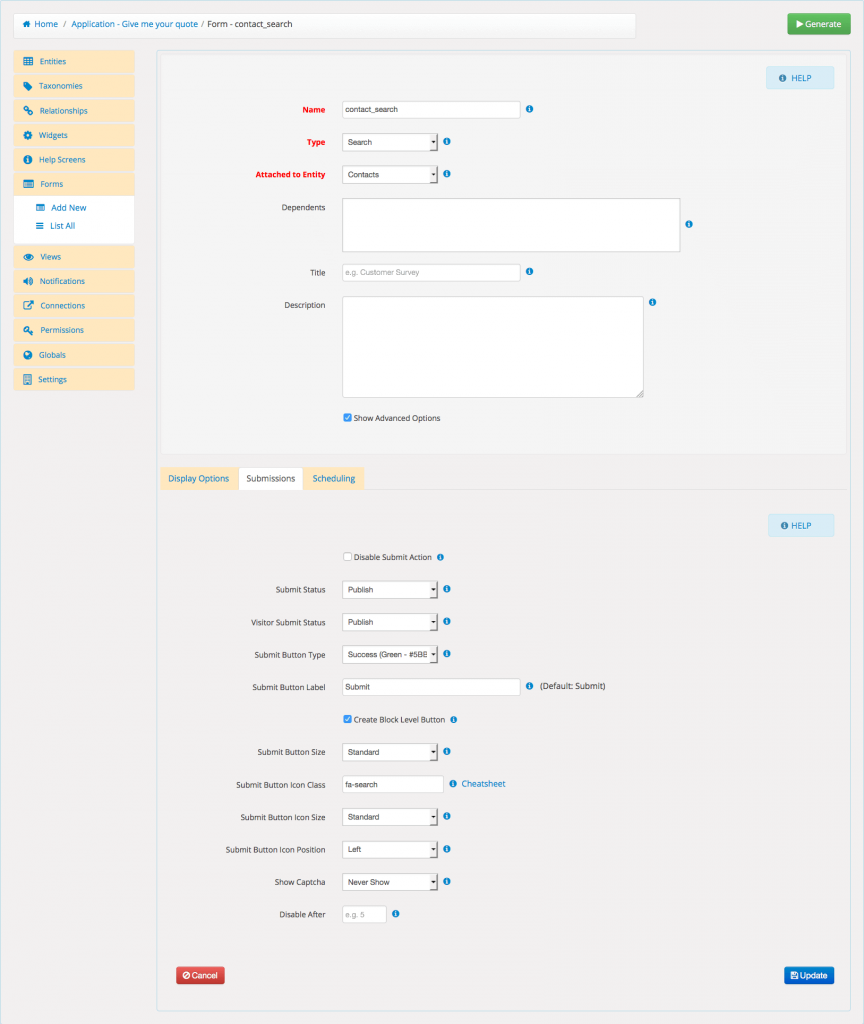
The button :
- label will be "Submit"
- color will be green. The button should cover the whole block to help people with mobile devices and have search icon before the label. I want the returned results in table format. The number of returned quotes exceed 10, the page navigation bar should be displayed.
In addition, I want to give bidders ability to filter quotes by operators such as "more than", "less than" etc. It will also be nice if our app creates the form page during the plugin activation.
Configuring a search form
Every WPAS search form has two main components; form and results. You need to create a search form first and then create the results view. Search results views can be customized like any other view.
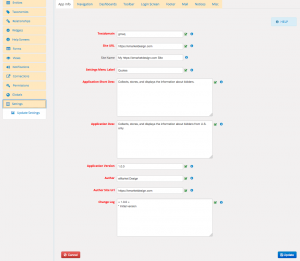
Lets go ahead and create a search form by clicking on "Add New" in the form menu. Make sure you select "Search" from Type drop down. Check out the rest of the configuration options I used looking at the images. Make sure you save after you finished designing.
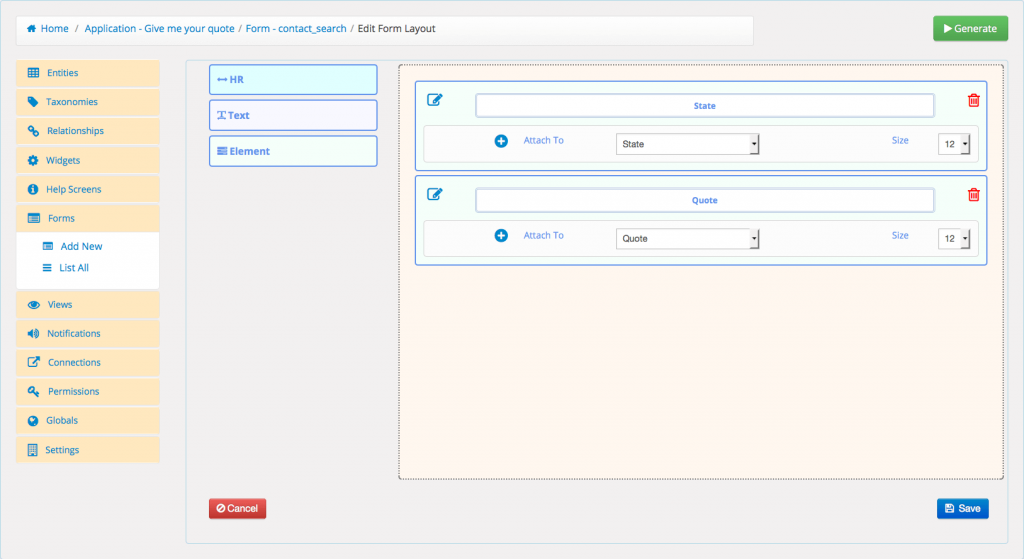
The next up is creating a custom layout. I do not want to put all available attributes in the form. "Quote and "State" are the ones I need. Click on the "edit_layout" quicklink while in the form list screen, drag and drop two elements on the layout, click "edit" icon attach elements to "Quote and "State" attributes. Leave size 12 since we do not want a grid layout. Click Save to finish.
Enabling search operators
Enabling search operators allows detailed search of search fields. Operators are very handy feature and must be enabled in the form configuration to be created . WPAS creates operators for text, date and numeric attributes if they are used in search forms. For example, I can search for the people who live in OH, NJ, and PA and submitted quotes more than $4000 using ">" operator in the quote field.
Pro tip: You should not enable search operators in every case. Enabling search operator in a form accessible to public is like giving open access to all of your data. For example, someone can select !≈ (not like) or ≠ (not equal to) operator in an email field and can access to all your email list.
Creating form results view
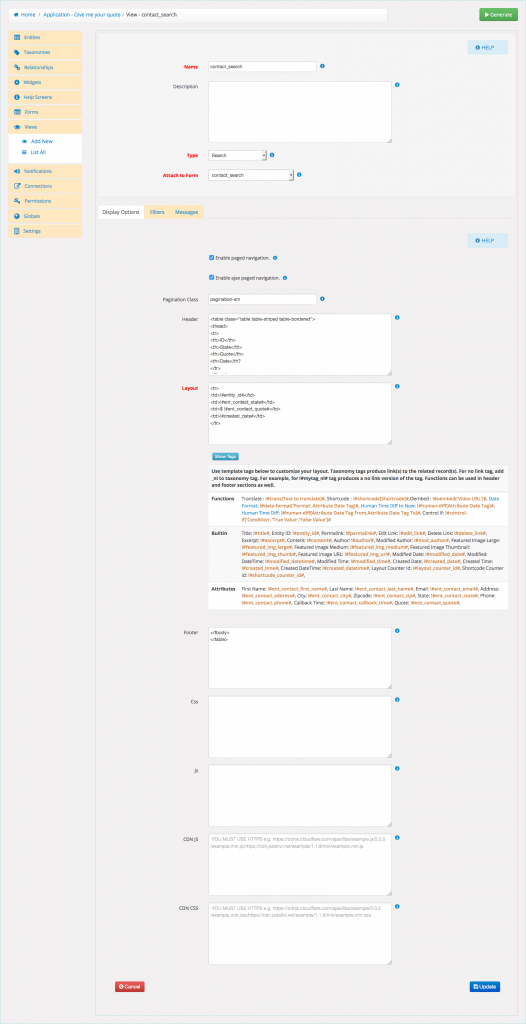
Every one your search forms needs to have a layout and a search results view. Otherwise, WPAS will not generate your app. So we need to create one by clicking the Add New link in the View screen. In the form, make sure you select "Search" type and attach to "contact_search" form or the form you created. This configuration instructs WPAS that the results view will be used by our search form.
Search results view has header, footer and layout sections. Layout section is the place you define your loop. Header and footer sections are for wrapper tags. In addition, it can be customized using external CSS and JS files.
In our case, we want to display our results in a table format. So I put in table header tags (<table> and <th>) in the header. <td> tags should go the layout section. In the footer, we just want to close all the tags we opened in the header such as <table> and <tbody>.
The layout section contains the data which will repeat for every row. The data is contained the view tags which can be displayed by clicking on "show tags" button. Refer to the images to see the details of our layout section.
Generation and setup
After finishing up the search results view, we ready to generate our app. Click generate button in the design and once more in the generation screen. If everything goes well, you will see the green alert saying the app design is sent for generation.
As soon as the app is ready, we will get a update notice in the plugins page provided that you have a valid license and it is activated. If you haven't activated your license yet , you need to deactivate the previous version and upload/activate the new one after you downloaded the zip file.
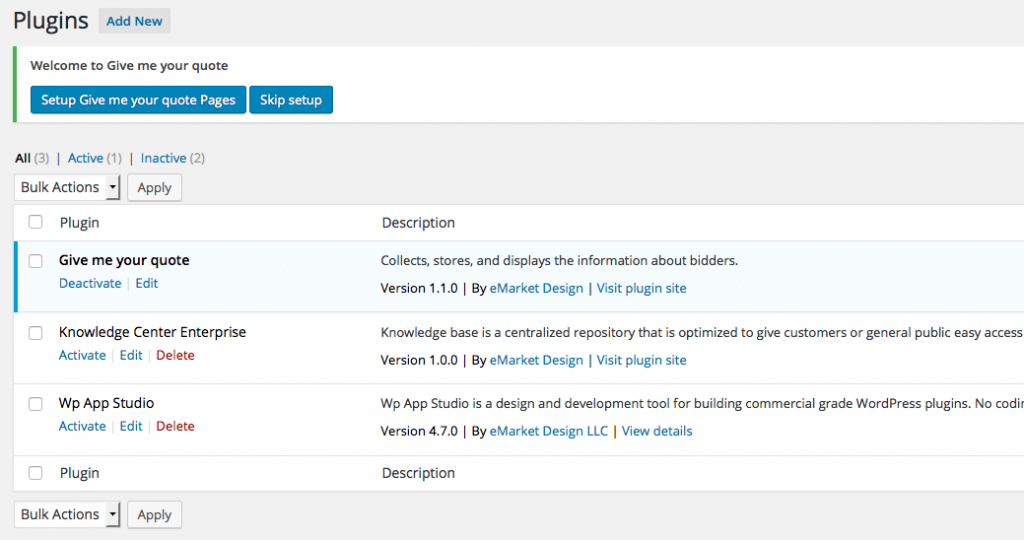
After the plugin activation or update, you will see the setup assistant alert asking if you want to create the search form page. In the form configuration, we enabled this feature and set the page title.(see the image gallery section). If you want create the page yourself, just click "Skip setup" button.
Wrapping up
In this article, we created a functional search form and its results view in "Request a quote" app, just touching the tip of the iceberg. There are so many things you can do with your search forms such putting the form shortcode in a widget, modal or in a view. You can additionally set permissions to limit access to the search form or create a multi-step wizard to lead your users in a process.
In the upcoming tutorial, I will demonstrate how to create and display relationships between entities.
